Monthly Archives: April 2024

How do you send email notifications from the chatbot to your clients without giving them dashboard access?

We recently released a new feature, chatbot-specific email receivers, and some of our users shared feedback on it after this release.

You need to add your clients as team members to add them to the email receiver for a chatbot. However, this means they’ll also have access to your dashboard.

New team member role: Notification listener

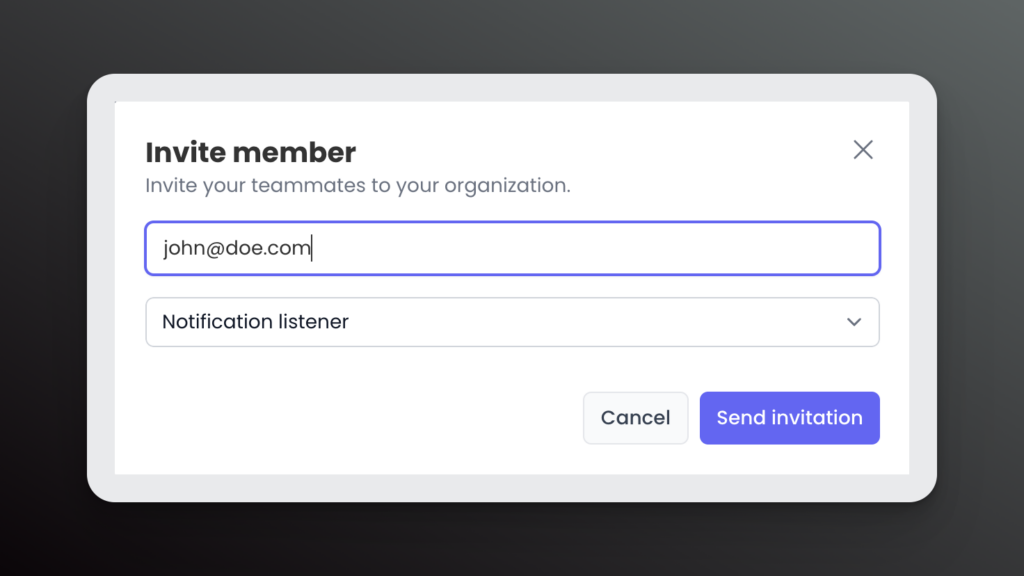
You can add a user with a notification listener role, and we’ll send them a confirmation email. If they confirm this communication request, you can now add them to your chatbots as email receivers like any other team member.

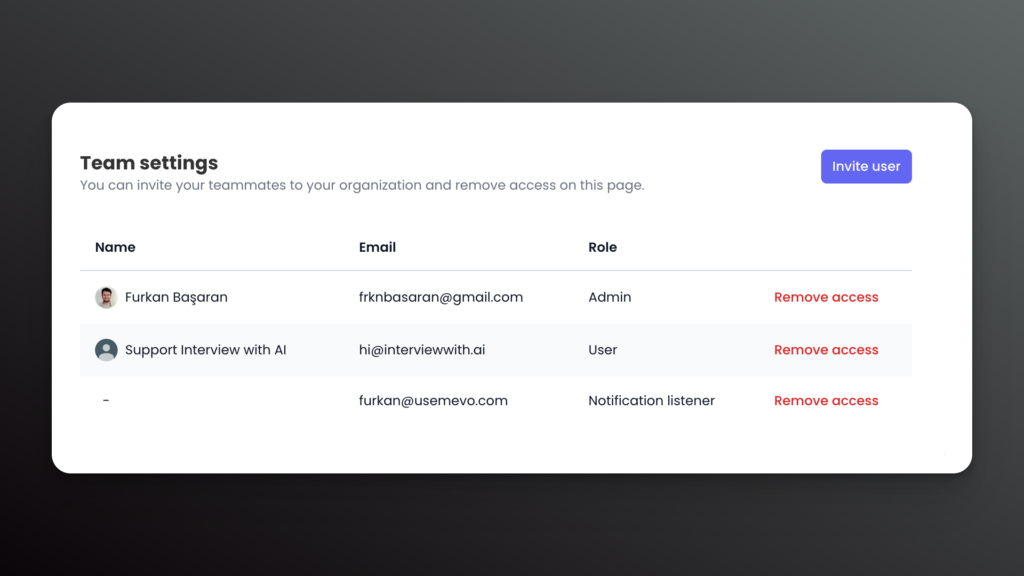
You can always remove a notification listener from your team by using the team settings view with the Remove access button.

Watch the tutorial

We also have prepared a video tutorial that shows how you can use this feature.

If you have any further questions or need assistance, please contact us by using hi@usemevo.com.

How do you link your stand-alone chatbot page to your domain?

In mevo, there is more than one way to create and use chatbots. One of the most popular ways is creating chatbots as stand-alone pages for collecting leads, making surveys, scheduling meetings, etc.

You’ll see how you can do that in this tutorial.

1. Click the Link domain button on your chatbot detail page.

2. Enter your desired domain, like chat.yourdomain.com (chat is just an example; it can be any subdomain you set)

Then, you need to follow those steps to complete CNAME settings. You’ll automatically receive an instructions email from our solution provider, saascustomdomains.com, in a minute. If you don’t receive an email, you can follow those steps.

CNAME settings you need to do

1. Log into your DNS management provider.

CloudFlare, Namecheap, GoDaddy, ClouDNS, or any other DNS management provider can do this.

2. Find and select your domain

We need to add DNS records for this domain.

If your custom domain is a subdomain, e.g., chat.example.com, create a single CNAME record with the following value:

Hostname:

chat.example.com

Value:

in.saascustomdomains.com

If your custom domain is a root (apex) domain, e.g. example.com, create two A records with following values:

First A record:

Hostname:

example.com

Value:

75.2.96.173

Second A record:

Hostname:

example.com

Value:

99.83.186.151

NOTE: it’s important to add both A records for the custom domain to function properly.

NOTE: if you are using Cloudflare, please disable proxying for your CNAME or A records and leave “DNS only” (disable the orange cloud icon).

That’s it!

NOTE: custom domains may take up to 24 hours to start working.

Need instructions on how to add DNS records?

Click on the links below for detailed instructions for your DNS management provider:

Need a hand? Just contact us via hi@usemevo.com for help from a member of our team.