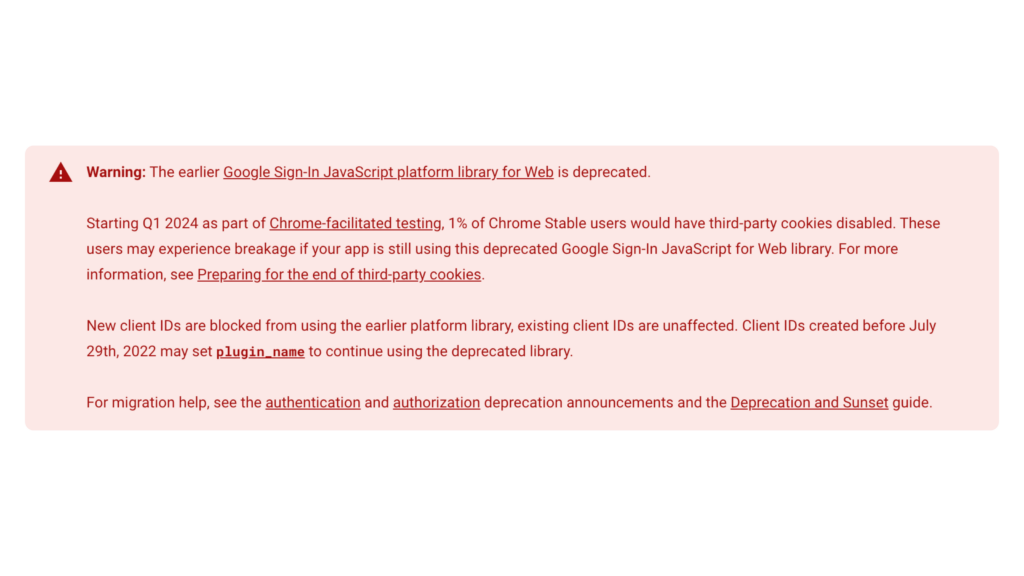
Sign-in via Google button is one of the most popular web components in the world. Most developers implemented this at least once in their projects; Google recently deprecated the old Sign-in via Google implementation. Now, there is a new way to use the Sign-in via the Google button: Google Identity Services.

In this article we’ll see how you can implement Google Sign in to your web project by using new way Google Identity Services for vanilla JS and Vue projects.
Here is the article outline:
1. Introduction to Google Identity Services
2. Getting client id from Google Developer Console
3. Adding library to vanilla js project
4. Adding library to Vue project
5. Adding Sign in via Google button
6. Handling client events with vanilla JS
7. Handling client events with Vue project
8. One Tap login and use cases
9. Conclusion
Before the start I want to mention a useful tool for your daily use cases. Mevo, a no-code chatbot builder. You can create AI-powered or rule-based chatbots by using this tool, you can create surveys for your users and collect feedback, or train a customer support agent for repeatitive questions to comes your projects from users.

It’s free and not required credit card to start. You can use webhook feature and connect your chatbot to Zapier, and then your daily tools like AirTable, Discord, Slack etc.
You can take a look to it from here.
Now let’s get back to our tutorial.
Introduction to Google Identity Services
Google Identity Services offer a powerful suite of tools and APIs that enable developers to create seamless and secure user authentication experiences. Developers can take advantage of Google’s robust infrastructure to simplify the process of implementing sign-in functionality, enhancing the user experience while maintaining security.
Getting client id from Google Developer Console
Here are the general steps to set up Google API client ID to enable Sign In via Google on your website.
1. Go to the Google Developers Console
2. Create a new project or select an existing one
3. Navigate to the “Credentials” page
4. Click on “Create credentials” and select “OAuth client ID”
5. Choose the application type (web application, iOS app, etc.)
6. Enter your website’s details such as the authorized redirect URIs
7. Click “Create” to generate the client ID
8. Once generated, you can use this client ID to implement Sign In via Google on your website.
Please note that these steps may vary slightly based on any updates or changes Google might have made to their interface or process. It’s always a good idea to refer to the official Google API documentation for the most accurate and up-to-date information.
Adding library to vanilla js project
Paste this snippet into your index.html file between head tags or before the end of body tag.<script src="https://accounts.google.com/gsi/client" async></script>
Adding library to Vue project
Paste the same snippet to your index.html file but remove the async and keyword from script.
<script src="https://accounts.google.com/gsi/client"></script>
For both cases, you use Vue or vanilla js, you also need to paste this snippet to your index.html.
<div id="g_id_onload" data-auto_prompt = 'false' data-client_id="your-client-id.apps.googleusercontent.com"></div>
The most important thing here is your client id, and the second one is data-auto_prompt attribute.
If you don’t pass data-auto_prompt attribute as false, it will trigger a One Tap popup even if you don’t call that. If you want to prevent automatically prompt for the One Tap popup, you need to pass this attribute as false, since it’s true as default.
Adding Sign in via Google button
Now, we need to add a div which will be rendered as Sign in via Google button by the javascript library.
Choose which file you want to show Sign in via Google button and paste this code.
<div ref="googleBtn" />
Even if you use a web framework or vanilla project, you need to place this code to your template.
Now we need to render this by using Google library.
If you use vanilla, you can just paste this snippet to your js code by choosing correct place.
window.google.accounts.id.initialize({
   client_id: "YOUR_CLIENT_ID",
   callback: onCredentialsResponse,
});

window.google.accounts.id.renderButton(this.$refs.googleBt, {
   text: 'signup_with', // or 'signup_with' | 'continue_with' | 'signin'
   size: 'large', // or 'small' | 'medium' width: '290', // max width 400
   theme: 'outline', // or 'filled_black' | 'filled_blue'
logo_alignment: 'left', // or 'center'
});
If you use Vue, you need to paste this code in mounted() or onMounted() hooks.
Or if you use React, you need to call this in your single useEffect(() => {}, []) hook which only run for once.
Handling client events with vanilla JS
Since we give onCredentialsResponse function as a value to callback property in the initialize function’s first object parameter, we need to create a function with that name in global scope.
const onCredentialsResponse = function(response) {
   console.log(response)
}
You’ll see the response.credentials as idToken for this user if login succeed. This is a JWT which contains user information like email, name, profile photo. You can access that information on client side by decoding this token.
Handling client events with Vue
The only different for Vue is, you need to create callback method under the methods object, or in setup scope for composition api. And then call it like below:
window.google.accounts.id.initialize({
   client_id: "YOUR_CLIENT_ID",
   callback: this.onCredentialsResponse,
});
One Tap login and use cases
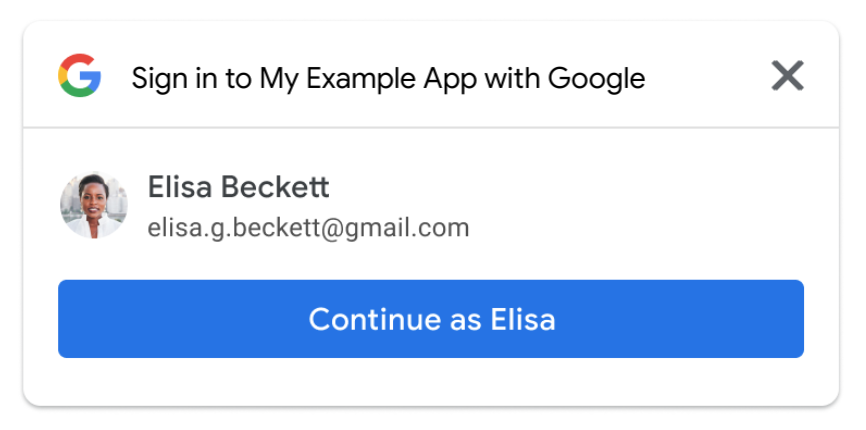
You can also activate One Tap signin by calling window.google.accounts.id.prompt() line.

The recommended use case for One Tap login is placing it to pages which doesn’t contain your login/register form but you want to allow users to register/login your app easily.
Like blog posts or similar leaf pages for your web app.
Conclusion
We hope this guide helps you to integrate Sign in via Google to your web project. If you find a mistake or do you have any suggestion for make better this post please send your feedback by using this link.
